Let’s talk about first impressions so that we can dig into these classroom display tips and tricks!
When we see something for the first time, it makes an impression. I started making door decor MANY MANY moons ago…WAYYY before Teachers Pay Teachers, but when I shared a door that I was making for my classroom in February of 2018, you asked for more! I listened, and I created…and the creating NEVER stopped!
Here’s the thing, everything I’m about to say and about to show you can be applied to bulletin boards and hallway displays, as well. I call them door decoration sets, simply because that’s what they started as. However, teachers EVERYWHERE are having fun with them and making the most epic classroom displays! Keep reading to see a few!
Let’s talk about the step-by-step process of creating your display!
SUGGESTED TOOLS: Please note that the tools that I use do not need to be the same tools that you use to create your display.
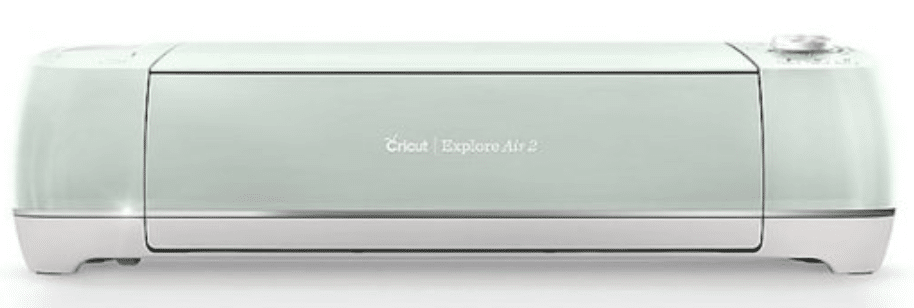
I use my Cricut Air 2 or Cricut Maker and Design Space to cut out my letters. If you don’t have these, it’s okay! I used scissors for years, and guess what? They work just fine! Yes, it will take more time, but it will all be worth it. (If you are new to Cricut, you will need this to get you started, as well. It’s NOT hard. I promise!)
Elmer’s Strong Formula liquid glue – I use this to adhere the letters and accents onto my bulletin board paper.
I also use…
Black bulletin board paper – I have a huge roll that I have purchased from Amazon, but you can purchase a smaller roll of this paper from stores such as Hobby Lobby. I have even seen teachers tape black poster board together to create a background. The color that you choose for your background can really make an impact!
Astrobrights Card Stock – I have every color under the sun, but the white and spectrum packs are my favs!!! Make sure it’s card stock and that it doesn’t just say “paper” on the front. The paper is great for making copies, but not ideal for creating a display.
HELPFUL TIPS
- Always create your display on the floor first.
- Do not glue or tape anything down until you make sure it’s where you want it.
- Use a metal yardstick to make sure the letters are straight. (That is, unless you want them to be a little wild!)
- Enlist help if you are cutting by hand. An extra hand or two…or three…along with snacks and drinks can go a long way! I have had several teachers tell me that they have door decor get-togethers! Haha! I love it.
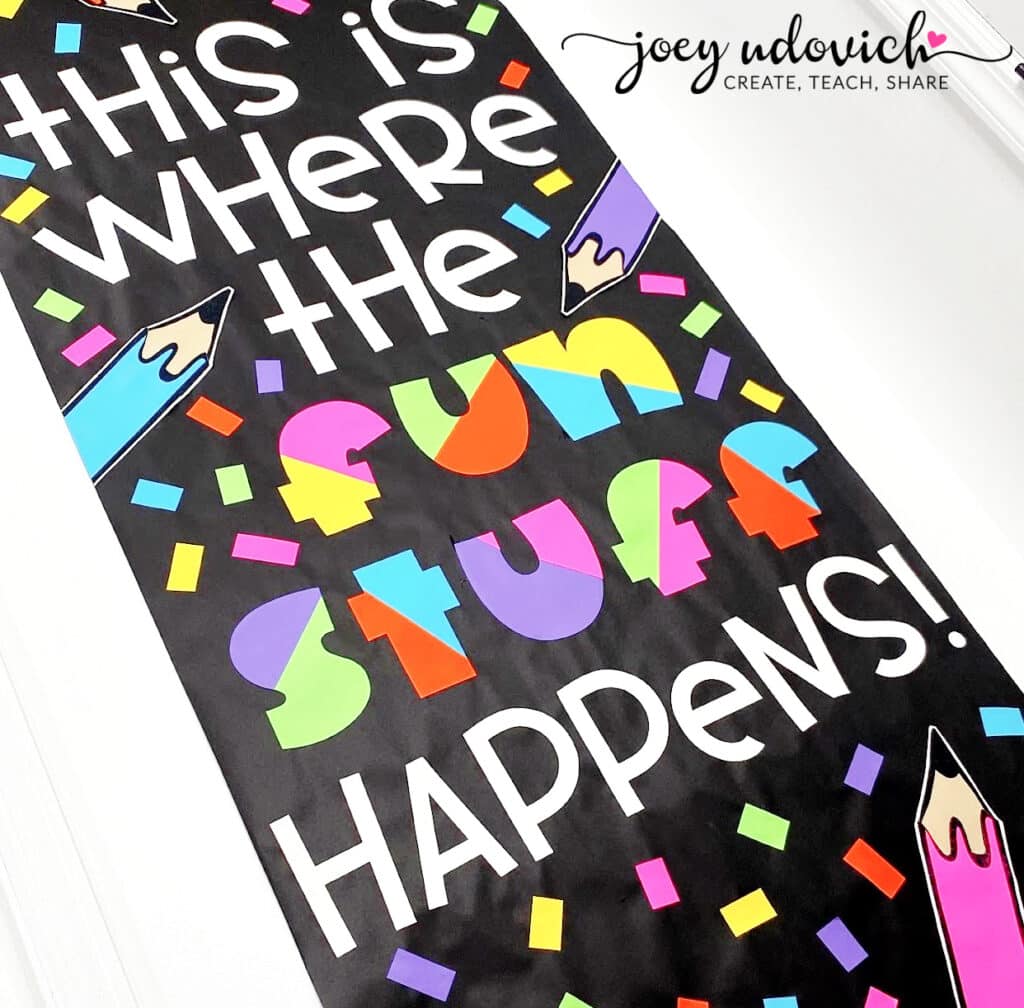
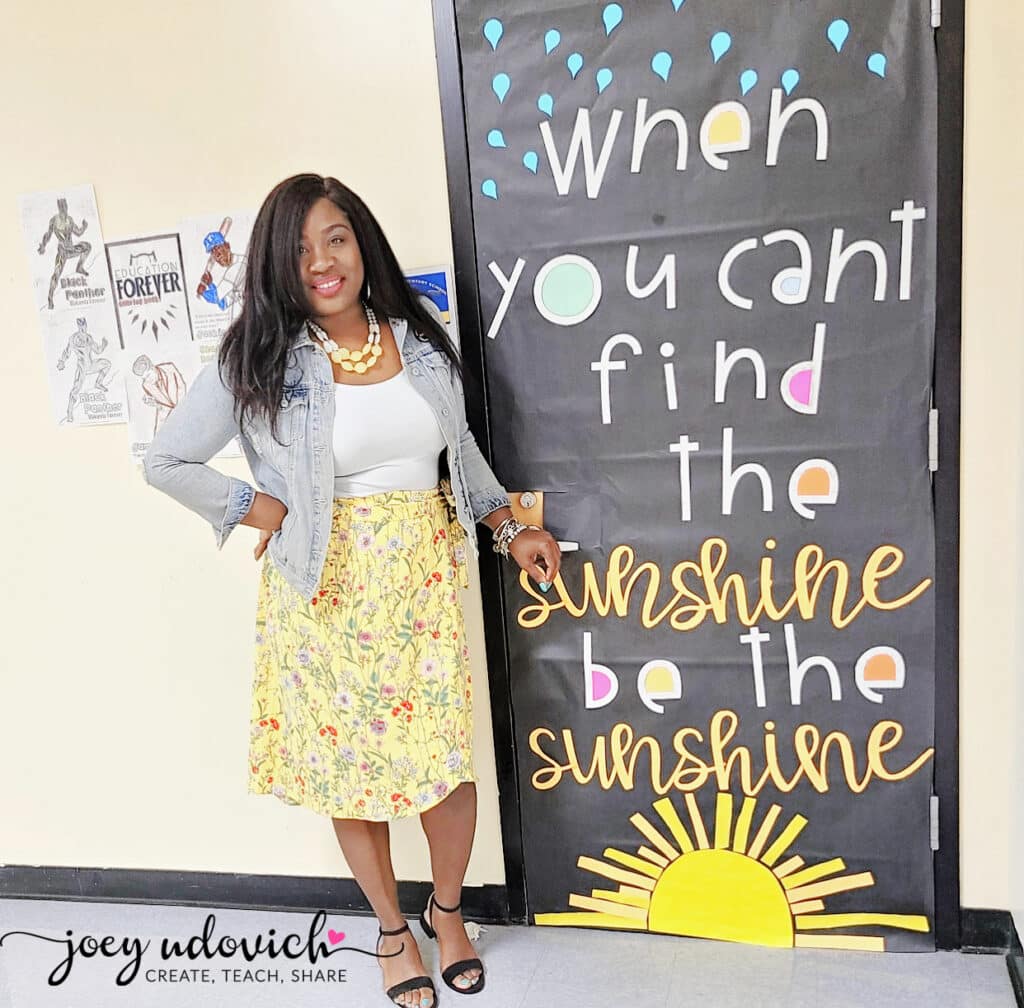
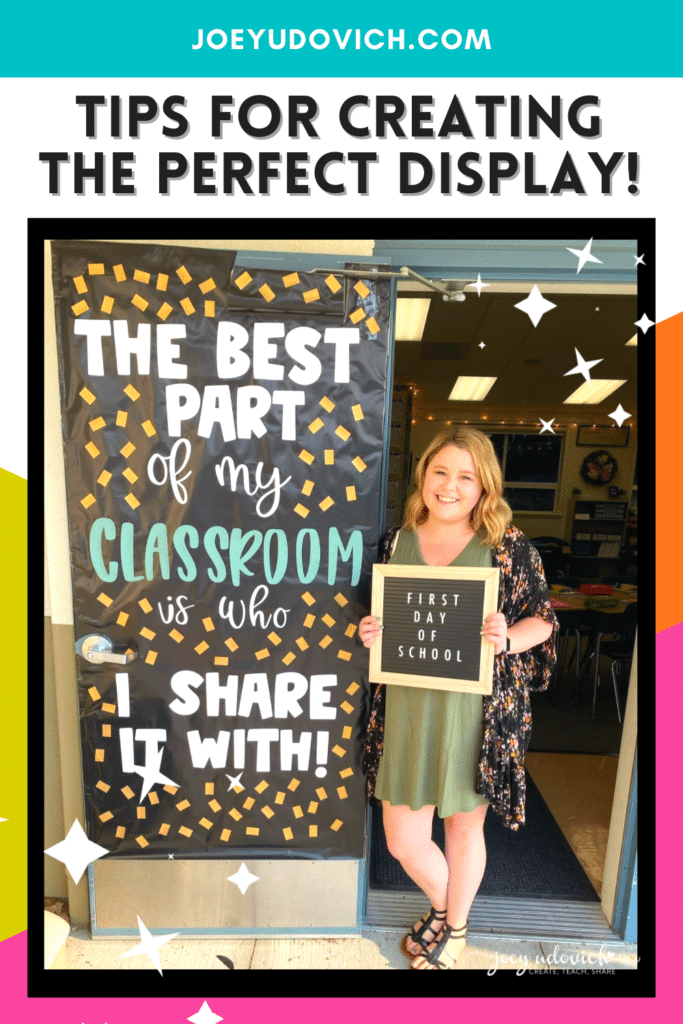
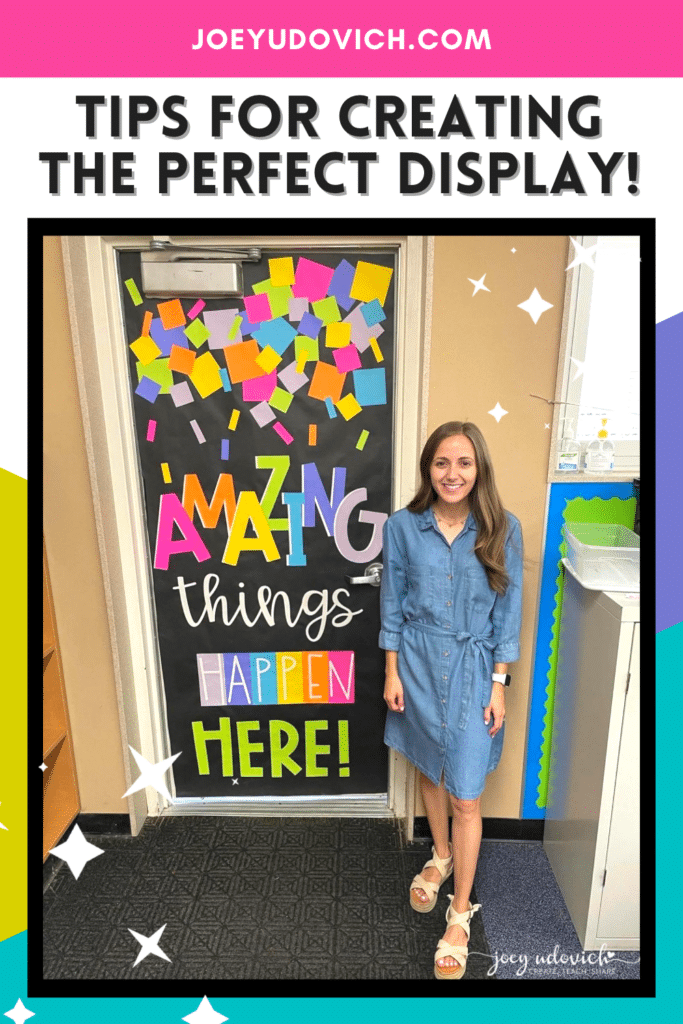
Check out some of our fellow teachers and what they created for their classrooms!
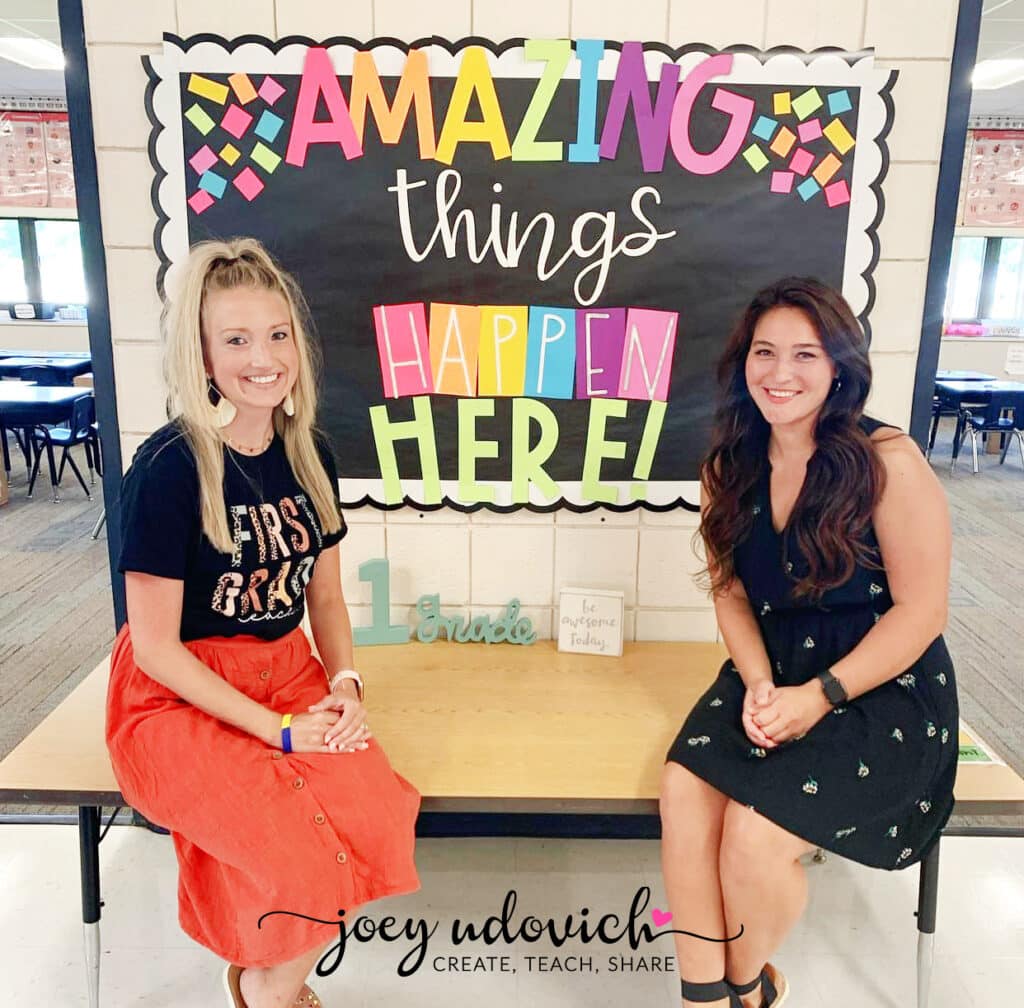
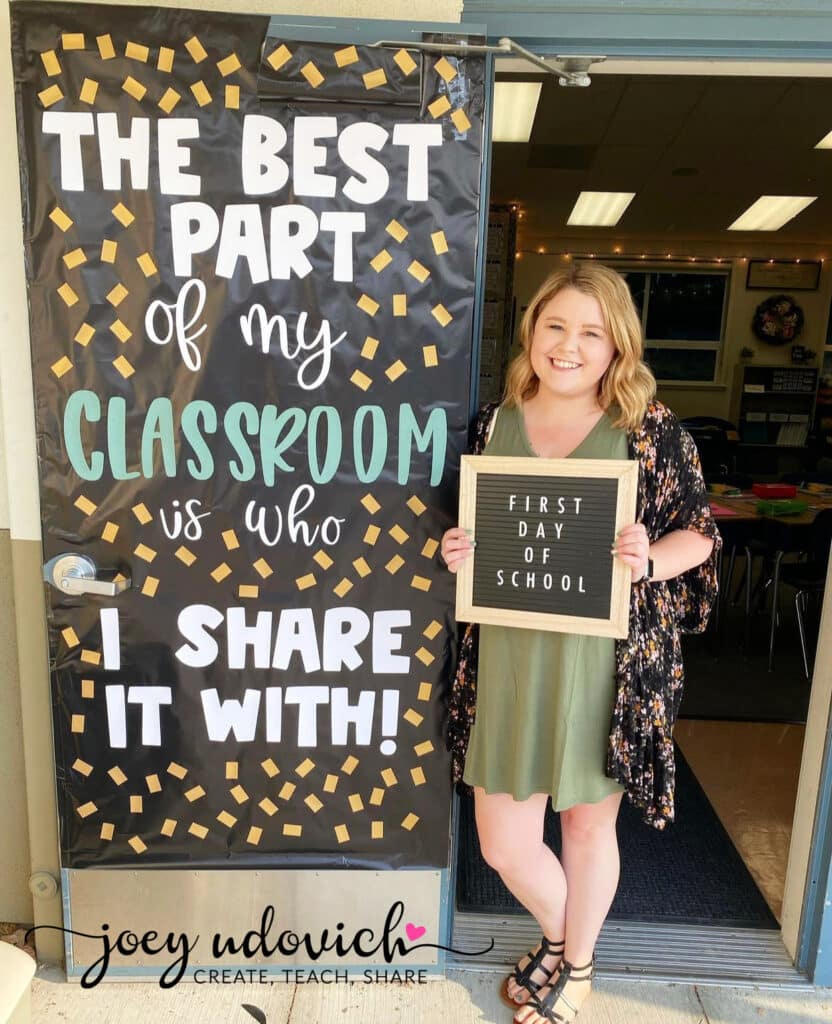
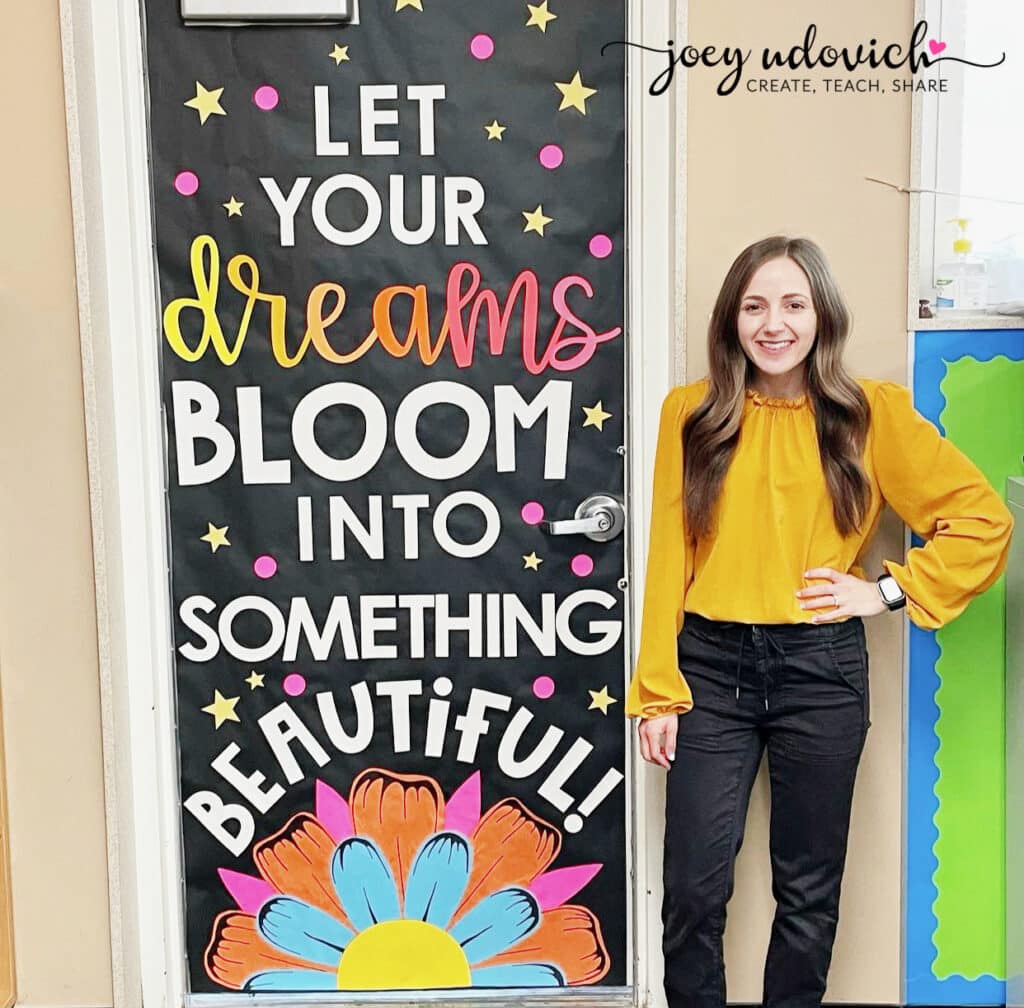
Photo Credits:
Top to bottom: @deavionbluinnovations @learningoverlattes @savannahnhernandez @chapter24_designs
If you would like to see more, click HERE to check out my IG page! It is FILLED with ideas!


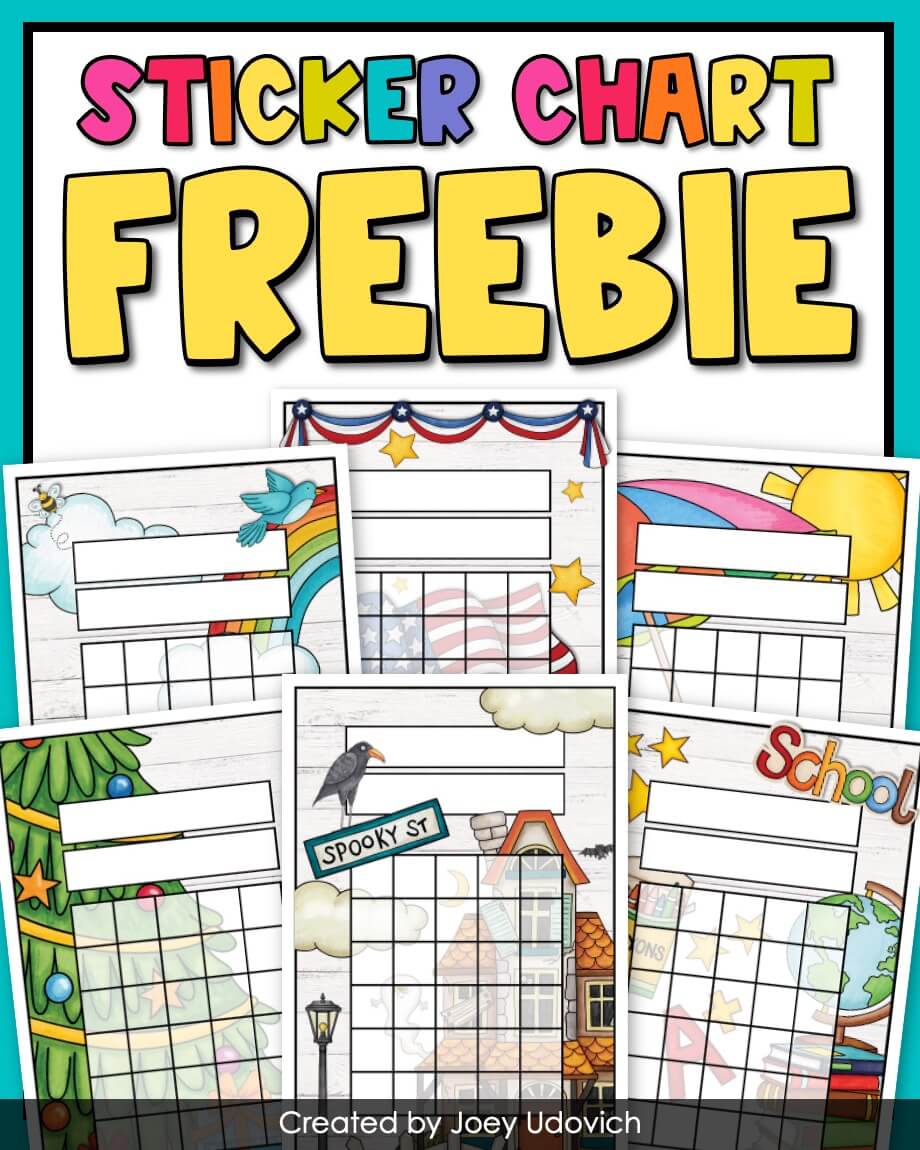
Free Printable Sticker Charts
Use these printable sticker charts to encourage your students throughout the school year! Each sticker chart is decorated with fun seasonal and holiday images that both you and your students will be sure to love year round!


