Organizing the Perfect Teacher Binder
I started making teaching binders in 2013, when I finally said that enough was enough, and that I wouldn’t spend yet another year in disorganized chaos. So, after some time (two years, as a matter of fact), I have created nine teaching binders, all with different themes to help not only myself…but teachers everywhere to be a little bit more organized. I have to say…I kinda like ’em! From the feedback that I’ve gotten from teachers such as yourself, I think you do (will) too! The one resounding question that I have been asked over the last two years is…


Step 1: Make a list.
When opening a file this massive, you have to go into it with a plan. I DO have it completely separated and organized for you already, but you will NOT be using every single file and/or lesson plan.
I always started with the forms. I went page by page, wrote down the page numbers of the ones I would need and then print those out. I only make one copy, because you can duplicate them at any point in the future.
Step 2: Choose your calendars and lesson planning formats.
When making these planners, I KNEW that I had to make it so that any teacher ANYWHERE in the world could utilize it. It needed to be flexible and full of options. Therefore, you have a multitude of calendar and lesson planning pages. Choose the ones that you want.
You can delete all of the other lesson plans or save it under a totally different file name. This is essentially creating a copy of the file so that you can delete anything you want but the original is still the same on your computer. Remember that you will always have access to your purchase through TpT, so even if you deleted all of it…you can just download your purchase again!
Step 3: Decide if you need everything in one place or separate.
I LOVE separating mine, but you do not have to. If you want everything in one binder…then do that! I however, feel better when things are in their own place. Here is a list of ways you can separate these forms to create several binders.
1. Lesson Plans
2. Standards
3. Small Group
4. Main Teaching Binder – this would hold all of the standard planner information on your classroom and students.
5. Substitute Binder – you will use many of the files from the main teaching binder here. You determine what your sub needs to know.
6. IEP Information
7. Guided Reading
8. Guided Math
9. Accelerated Reading
10. Reading Level Tracking Forms
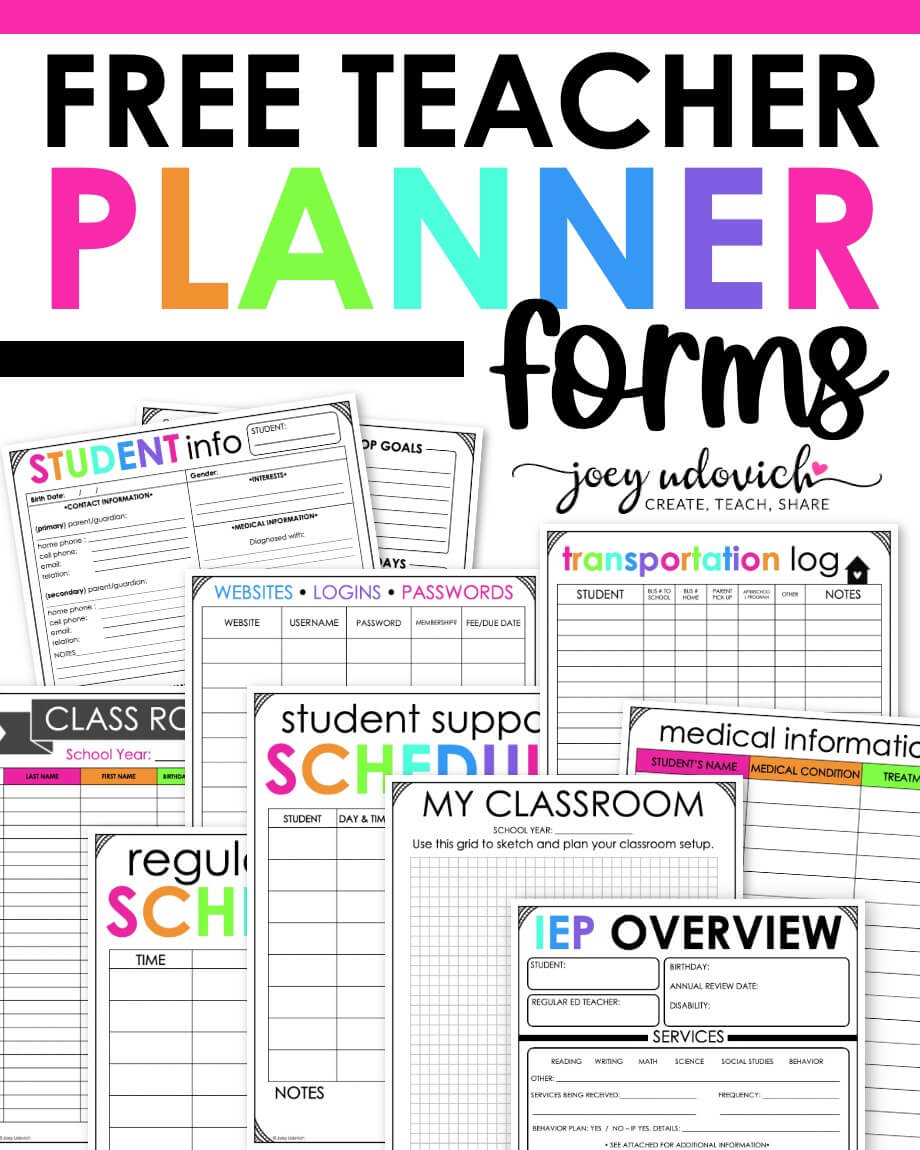
Free Teacher Planner Forms
Keep track of important information in a stylish and practical way.These printable planning forms are the perfect way to organize your classroom information. You can place them into a binder or add them to your favorite Happy Planner or custom teacher planner!


